Sowing seeds!
Share
I recently hosted a seed sowing workshop intended to introduce people in our community to the joys of growing flowers and vegetables from seed. It was a pleasure to host, and I’m hosting a final workshop on April 21st - you can book your place over on the events page - but I thought for anyone that can’t be there in person I would share some top tips to start growing plants here.
It all starts with a seed! Once you’re into growing I expect you will, like me, be hooked on saving your own seed (or foraging seed from other people’s gardens!) but for now you might want to just buy a few packets of seed online or from your local garden centre. If you only want to grow a few plants you could think about doing a seed swap with a friend so that you can share packets. Otherwise you can save your seed and it should last for at least a few years if you keep it a fairly consistent temperature. But when starting out, the fresher your seed the better, as the higher the chance of germination.
Once you’ve got your seed, you need some seed compost in which to grow it. I use fertile fibre seed compost as I find it to be really reliable. Your seeds and growing medium really matter, so if you’ve struggled in the past these could be the culprit. You want to sow your seeds into light, airy, moist seed compost, pre-watered and mixed so that it retains moisture.
Sow your seeds inside at this time of year, although you can start direct sowing your hardy annuals now. But for the satisfaction of witnessing the early stages, I’d recommend starting your seeds off in a greenhouse or on your window ledge. The general recommendation is 6-8 weeks before the last frost date, which is the middle of May here, so now (mid April) is perfect. You can sow hardy annuals earlier, but as it’s already April you don’t need to worry about the distinction between hardy and half hardy other than to make sure not to plant your half hardy annuals out before the last frost, as they cannot withstand the cold.
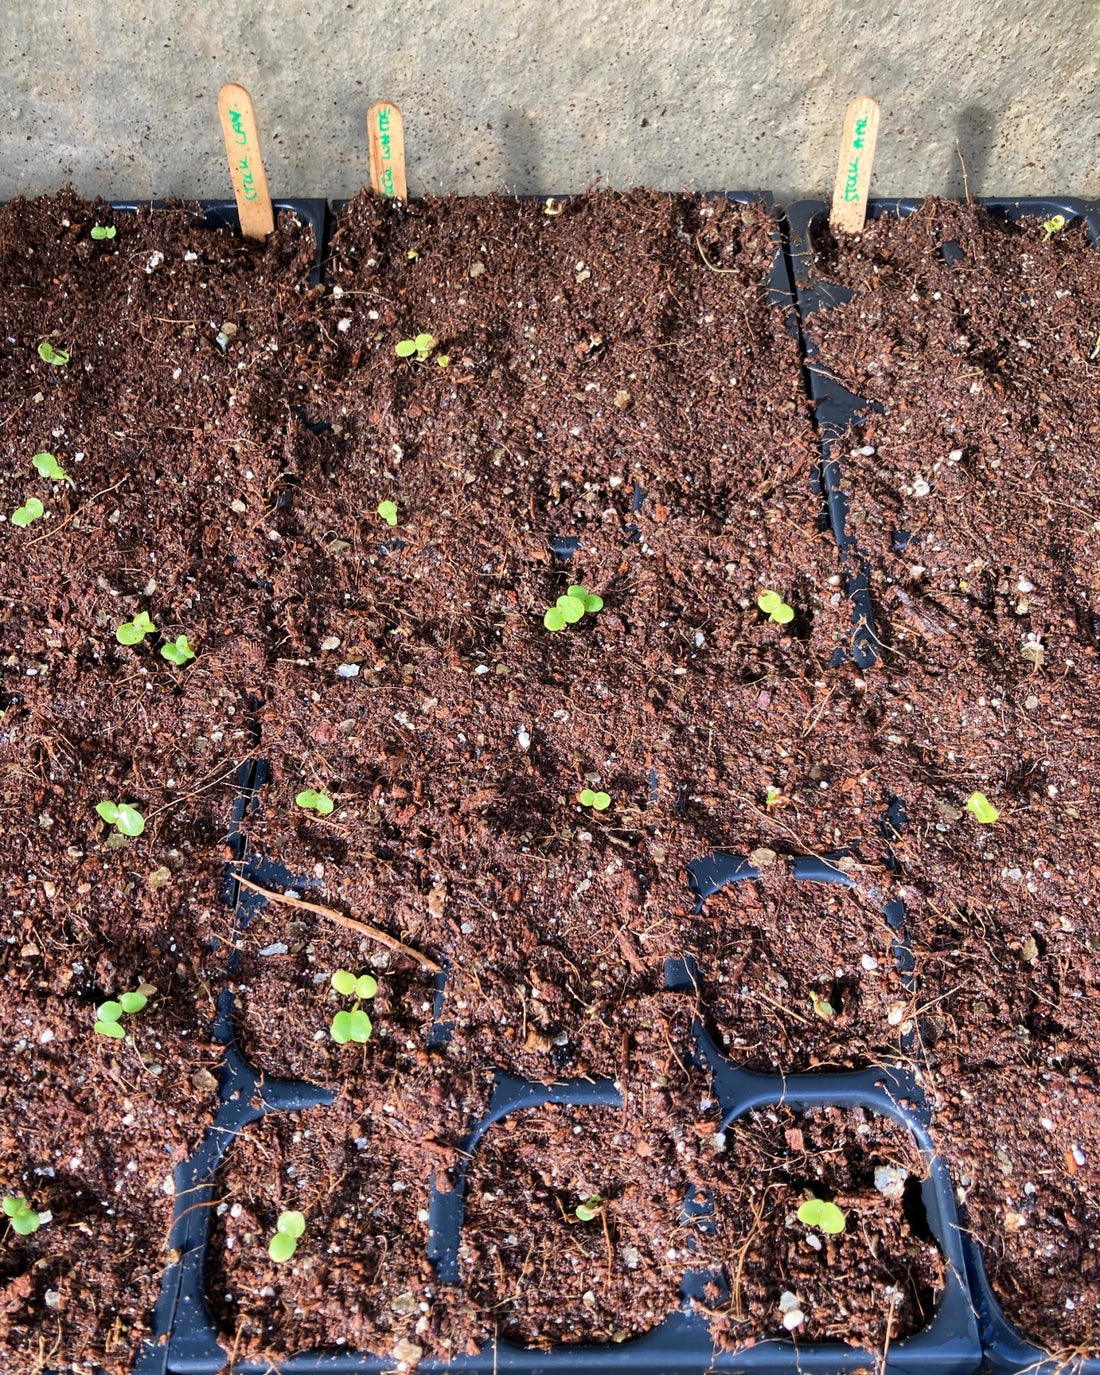
To sow, fill a container with your moist seed compost and press your seed into the surface, then cover lightly with a sprinkle of compost or vermiculite. Do not plant the seed too deep - no deeper than its own width if you can manage it. Keep the compost damp but not wet and once the seeds have germinated make sure the seedlings get enough light.
These instructions don’t apply to all seeds - some germinate in autumn and some require darkness or extra humidity - but as a general guide this is a good place to start. So if reading and following the instructions on the seed packet or internet feels overwhelming, just do this and see what happens. What’s the worth that could happen?
When you’re starting out I think the best thing you can do is just try it. Seeds want to grow and it is always rewarding when they do! I hope once you’ve grown a baby plant you’ll be hooked too!
Once your seedlings have outgrown their initial container, pot them onto bigger pots if you need to using potting compost, and once they are strong enough - which depends on the plant and its growth rate, but let’s say 10cm - put them outside somewhere sheltered for a week whilst they get used to it.
Then they’re ready to go into the ground! Again don’t let perfection be the enemy of good. You can find recommended spacing for most plants online, but don’t worry if you find lots of conflicting advice - just go for it. If you get it wrong, you can always move them!
If you’re direct seeding, mark a shallow trench in the earth and sprinkle your seeds in, then cover them over lightly. Water them in if it’s dry. Label them. And wait!
Let me know if you have any questions!
Sammie x